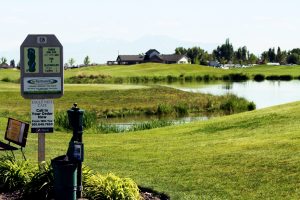
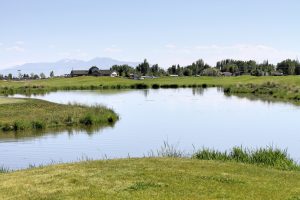
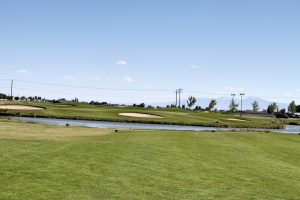
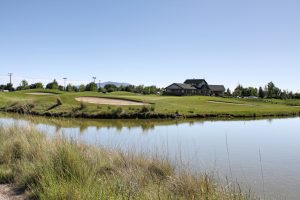
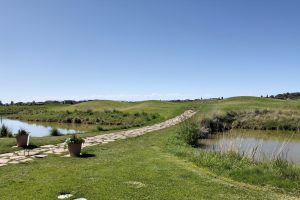
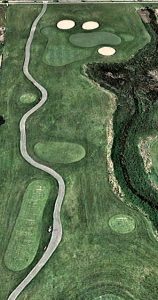
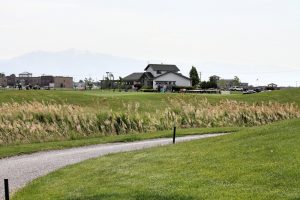
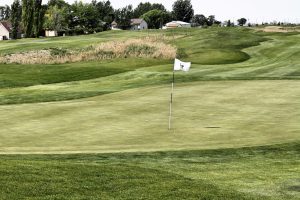
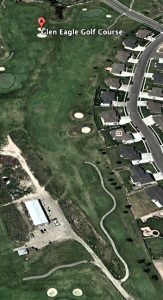
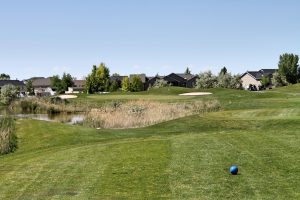
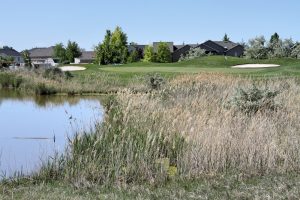
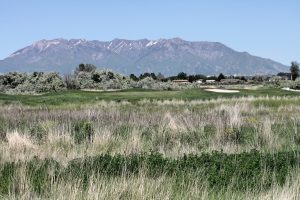
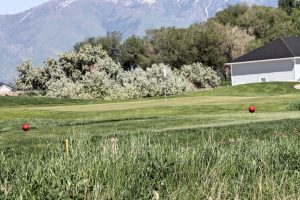
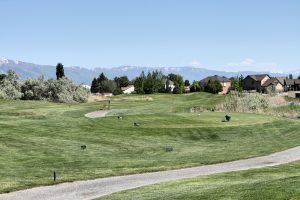
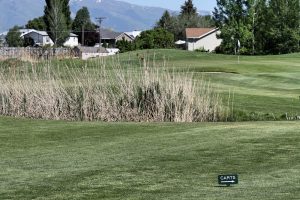
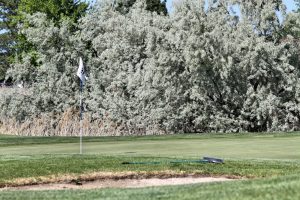
Course Tour
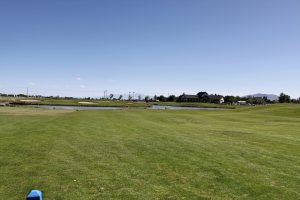
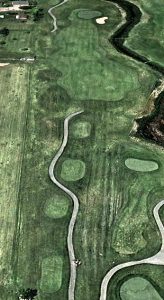
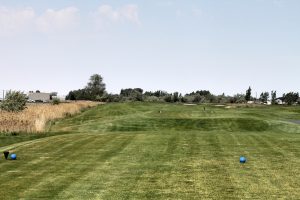
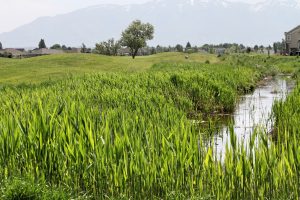
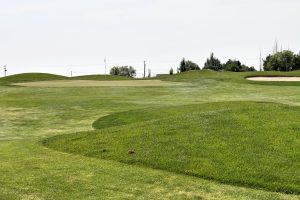
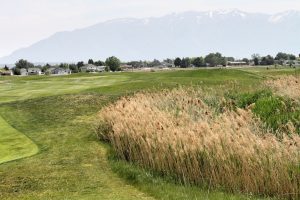
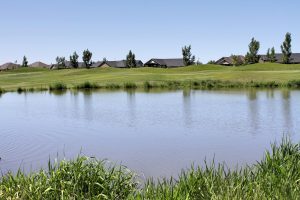
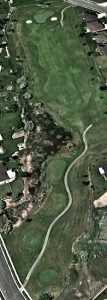
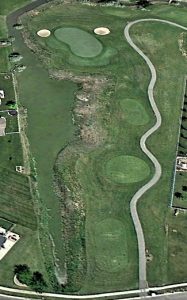
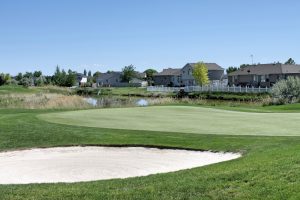
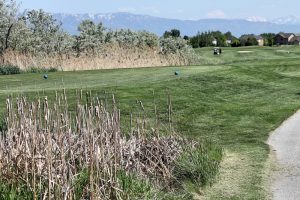
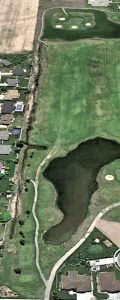
Hole 1
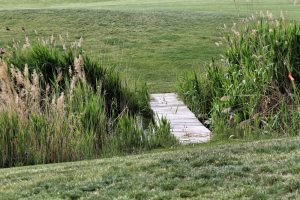
McBride’s March
Par 4
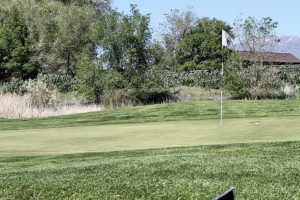
Hole #1 is a fairly straight par 4 that can help you begin your round at Glen Eagle off on the right foot. By not playing too aggressive off the tee, you will find there is a generous landing area between 200 yards & 150 yards to the pin. With out of bounds to the left and water to the right that may be the smartest play. There is not much risk/reward with being aggressive on this hole as the green offers a simple putt sloping from back to front. Keep in mind not to play too much break on your putt.
-
Black 395 Blue 386 White 335 Gold 295 Red 245
-
Men’s Handicap 16 Women’s Handicap 12 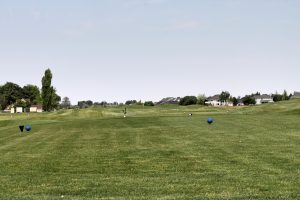


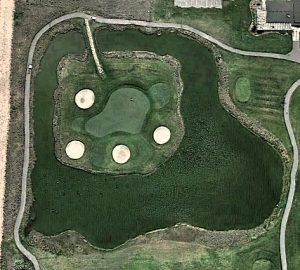
Hole 2
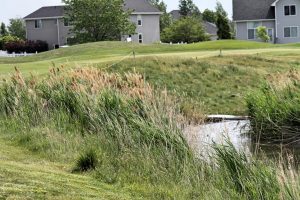
St. William’s Walk
Par 3
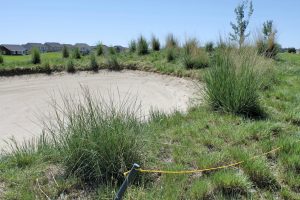
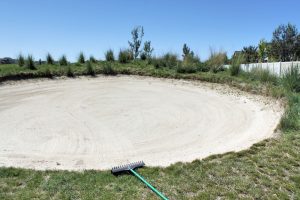
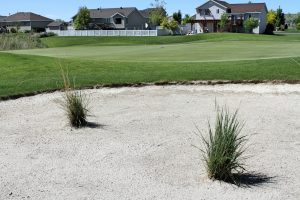
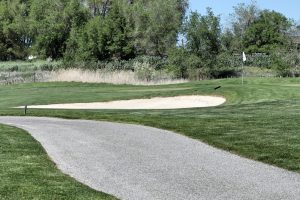
Hole #2 tests your accuracy along with your distance control. There is a bail out area short and left of the green just in case the hole looks to daunting. With three bunkers guarding the front and back of the green be sure to make a confident swing to ensure a solid strike. The green mounds in the middle so be aware of where the flagstick is so you don’t leave yourself with a tricky 2-putt.
-
Black 190 Blue 160 White 150 Gold 115 Red 85
-
Men’s Handicap 12 Women’s Handicap 18 

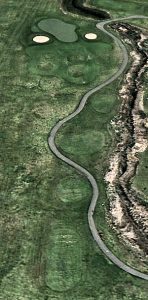
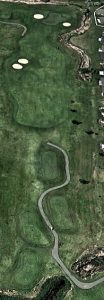
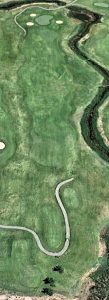
Hole 3
The Land of Eden
Par 5
Hole #3 offers a great opportunity to gain some strokes on the course. In order to score well on this hole it begins with a well placed tee shot. There are hazards running down both sides of this par 5, but keep in mind there is a decently wide landing spot. The key to this hole is being cautiously aggressive, there is a high risk/reward with going for it in two, but if you can pull it off you will have a great look at making at least a birdie.

-
Black 520 Blue 500 White 445 Gold 430 Red 385
-
Men’s Handicap 6 Women’s Handicap 8 

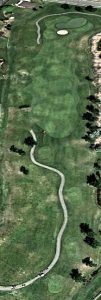
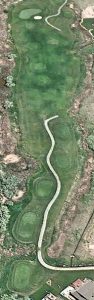
Hole 4
Firth’s Landing
Par 4
Hole #4 is one of the more difficult holes on the course. With out-of-bounds to the left and a water hazard that runs down the right, this hole is forcing you to drive a ball fairly straight. The fairway itself is pretty wide so you don’t have to be deadly accurate, but don’t stray to far from the fairway. Get through this hole with a par and your work is done, get a birdie or better your most likely going to be up on the field.
-
Black 460 Blue 420 White 410 Gold 375 Red 345
-
Men’s Handicap 2 Women’s Handicap 4 

Hole 5
Heather’s Bloom
Par 4
Hole #5 is a short par 4 that begs you to pull your driver out and rip one down to see how close you can get to the green. The smart play is to hit a hybrid or a fairway wood and put yourself out about 100 yards so you have a full swing to a slightly elevated tee. The sand bunker directly in front of the green will snatch your ball if your short on your approach. Play this hole right and you’ll be looking at a great opportunity for a birdie.
-
Black 375 Blue 350 White 340 Gold 295 Red 240
-
Men’s Handicap 18 Women’s Handicap 14 


Hole 6
Links Land
Par 5
Hole #6 is one of the more challenging par 5’s on the course. It would be wise to determine your club selection by playing the hole, in your mind, from the green to the tee. There is a hazard that runs out into the fairway that will come into play from all the tee boxes. If you decide to go with a driver, you are going to either have to fly the hazard or thread it down the skinny part of the fairway running to the right of the hazard. There is a high risk/reward for this hole and playing aggressive can put you in great position for your second shot, just don’t miss your tee shot or you’ll most likely end up in a hazard.

-
Black 550 Blue 510 White 490 Gold 440 Red 380
-
Men’s Handicap 4 Women’s Handicap 2 


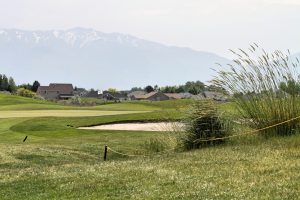

Hole 7
The Highlands
Par 3
Hole #7 is a lengthy par 3 that will test your skill. You’ll find that most days the wind will be straight at you, so you may need to take an extra club length to get it to the hole. A good score on this hole is par, so aim for the middle of the green take your two putt and move onto number #8.
-
Black 220 Blue 200 White 165 Gold 130 Red 100
-
Men’s Handicap 14 Women’s Handicap 16 


Hole 8
Futball Field
Par 4
Hole #8 setups up really well if you naturally hit your ball right to left. With out-of-bounds and a hazard running down the right side, the smart play is to miss it left. Be aware of the two fairway bunkers that come into play off the tee. For your approach shot, try not to go pin seeking, aim for the middle of the green, take your two putt and move on to the next hole.
-
Black 410 Blue 375 White 360 Gold 335 Red 290
-
Men’s Handicap 8 Women’s Handicap 10 

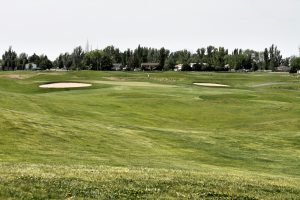
Hole 9
Player’s Glen
Par 4
Hole #9 offers a generous landing area off the tee, but make sure you make solid contact as it is a fairly long par 4. On you approach shot go ahead a try and play for the pin, but bare in mind there are three bunkers that protect the green on both sides.
-
Black 435 Blue 405 White 400 Gold 365 Red 350
-
Men’s Handicap 10 Women’s Handicap 6 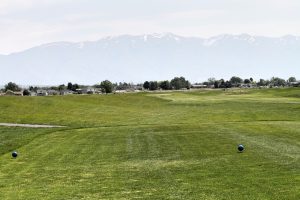
Hole 10
Turnberry
Par 4
Hole #10 is a fairly easy par four with a generous landing area from any of the tee boxes. The driving range runs down the left side of the hole and IS out-of-bounds so be sure to stay right. Play to the center of the green to ensure you don’t come up short and end up in either of the bunkers or the lake.
-
Black 420 Blue 415 White 365 Gold 345 Red 315
-
Men’s Handicap 13 Women’s Handicap 5 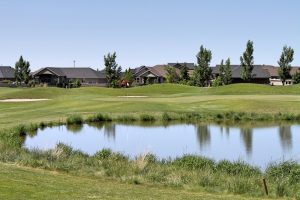

Hole 11
The Curlen
Par 5
Hole #11 is a dog leg to the right, with houses and out-of-bounds running down the right side of the hole and rolling hills running down the left. There is a fairly generous landing area from the tee so anything down the middle with some movement either way should be just fine. Go ahead and go for it in two if you have the length because there isn’t too much trouble up around the green. If the pin is on the right side be sure not to short side yourself as that is a difficult pin. This hole offers a pretty decent chance at making a birdie.
-
Black 545 Blue 525 White 475 Gold 435 Red 390
-
Men’s Handicap 9 Women’s Handicap 3 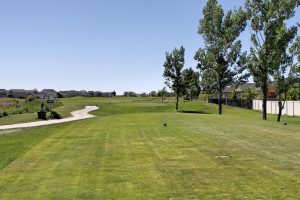

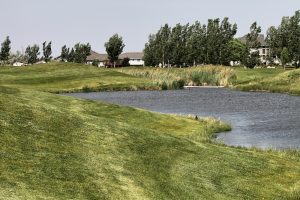
Hole 12
Inverness
Par 4
Hole #12 demands one of the hardest tee shots of all the par 4’s on the course. With water running down the entire left side of the hole and out-of-bounds running down the right side of the hole, you will need to be pretty precise to hit the fairway. The green is guarded by two front bunkers so you will not want to leave your approach shot short. The green is a pear shape and the safe play is to hit the middle of the green to leave yourself with a decent shot at getting home with two-putts.
-
Black 445 Blue 400 White 360 Gold 315 Red 290
-
Men’s Handicap 3 Women’s Handicap 9 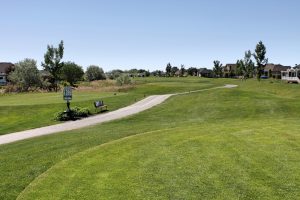
Hole 13
Murfield
Par 3
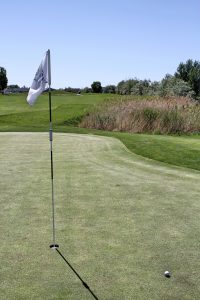
Hole #13 is a picturesque par 3 that isn’t too demanding from the tee. The green is fairly large and doesn’t have too much movement. This would be a hole that you will want to take dead aim at the flag and try and put yourself in a position to make a birdie. Be aware that if you go long and right you will end up in the bunker which will leave for a delicate sand shot, which could end up in the water.
-
Black 180 Blue 160 White 130 Gold 120 Red 85
-
Men’s Handicap 15 Women’s Handicap 15 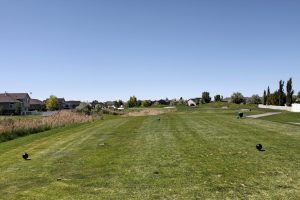
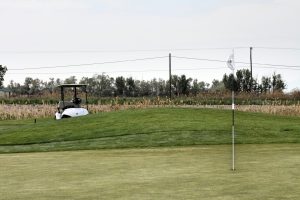
Hole 14
The Niblick
Not the longest par 4 on the course so find the fairway here and you will have an opportunity to fire at any pin on the green. Out of Bounds on the right and hazard on the left the entire length of the hole can bring a big number into play but there is a good sized fairway to hit. Everything slopes from the back to front on this green so play to the number and give yourself a good look at a 3.
Par 4

-
Black 365 Blue 340 White 320 Gold 285 Red 275
-
Men’s Handicap 17 Women’s Handicap 11 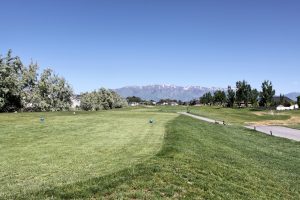
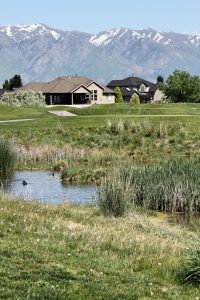
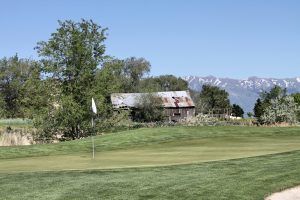
Hole 15
Paddies Laire
Par 3
Hole #15 is a great par 3 with a great view of the Wasatch Front Mountains. You will tee from across a waste area so be sure to carry the ball far enough so you don’t come up short in the tall grass. There is a fairly large bail out area to the left and short right. If the pin is located on the back right side, don’t get suckered into going for it, because if you miss it right at all you will have a difficult chip to get up and down to save par.
-
Black 200 Blue 190 White 180 Gold 170 Red 65
-
Men’s Handicap 11 Women’s Handicap 17 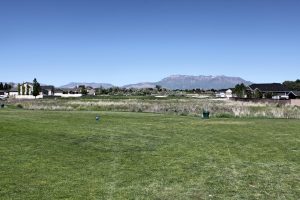

Hole 16
The Royal
Par 4
Hole #16 is a challenging little par 4 that will test mostly from the tee. From any of the Men’s tees (White, blue and black) you will get lined up to hit it down the left side. Don’t get fooled by this because anything left will end up in the water hazard that runs down the entire left side of the hole. Play to the 150 marker and you will be in good position for your approach shot.
-
Black 425 Blue 395 White 380 Gold 300 Red 260
-
Men’s Handicap 5 Women’s Handicap 13 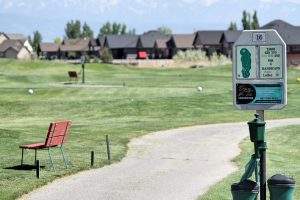
Hole 17
Stone Haven
Par 4
Hole #17 is a tricky par 4 that makes you consider your options off the tee. There is a water hazard that runs out into the middle of the fairway about 50-60 yards short of the green and it requires a well struck tee shot to fly the hazard. The smart play is to take your 200 yard club and place your tee shot into the middle of the fairway. There are water hazards that run down both sides of the fairway so you need to make a confident swing to ensure you make good contact. Once on the green you will have some break on the east side of the green but for the most part the green won’t have too much movement on you.
-
Black 370 Blue 360 White 320 Gold 305 Red 265
-
Men’s Handicap 7 Women’s Handicap 7 

Hole 18
Loch Ness Monster
Par 5
Welcome to the Loch Ness Monster! The hardest hole on the golf course. This a great test of skill and you may end up loosing some balls if you aren’t careful. From the tee shot aim at the east corner of the club house, this will position you almost exactly in the middle of the green or just on the right side. Unless you hit all of your drive this will be a three-shot hole to get to the green. If you opt to lay up, you will want to just play to the 100 yard marker. If you decide to go for it in two, then be aware that the green is surround by several bunkers and you are going to have to hit it around them. The green itself won’t cause you too many fits, but getting there may give you stories to talk about for years to come.

-
Black 560 Blue 530 White 490 Gold 475 Red 440
-
Men’s Handicap 1 Women’s Handicap 1